This page illustrates how you can modify equations in the parallel model. It is a very big deal to the UDF process being useful, that you can change the UDF code easily, and that changing the UDF code has about the same level of pain as changing your excel model itself. I show how to add new variables (inputs to your model) and equations (changing calculation equations) as you would if you inserted new rows to your model in excel. Hopefully, you will see that you can add and modify equations by yourself and not be intimidated by the UDF method. My objective is that you will gain confidence and see that changing equations in the UDF is not difficult. Just like in your excel model a lot of the problems you have is to use those blue lines to find the issue you have, the challenge with the UDF may be to find the issue you are working with. I also show you some methods to make sure that the installation of the UDF method is smoot and easy for you. I beg you very to not be intimidated by scanning the screenshots below.
The file below includes UDF functions to resolve all circular references. You can use this file to see how to evaluate a number of structuring issues associated with debt sizing, debt funding, debt repayment and interest rates. The methods in this file are described in detail elsewhere in webpages of this section. You can download the file by pressing the button.
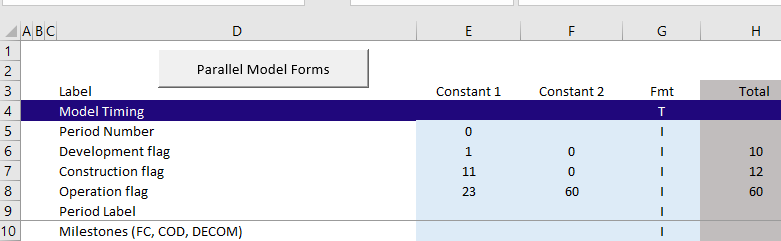
A couple of ways that parallel model works is demonstrated below. The first graph demonstrates that by pressing a couple of buttons and moving spinner boxes up and down, you can evaluate a whole bunch of structuring elements. This would be just about impossible without the parallel model. You would have to create a really big page of copy and paste results and then wait a long time for each element.
Notes on Implementing the UDF Program
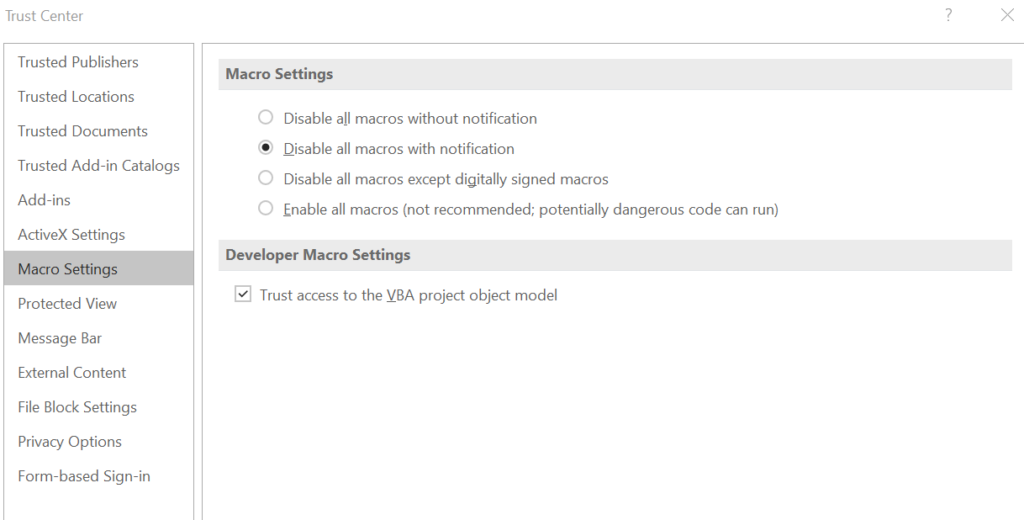
When running the UDF program, there are a couple of things to watch out for and make sure are implemented. You should click on the “Developer Macro Settings” and make sure the “Trust access to the VBA project object module” is checked. Once this is checked, you can make sure that the model works using the macro button shown in the second screenshot.
Adding New Variables and New Calculations
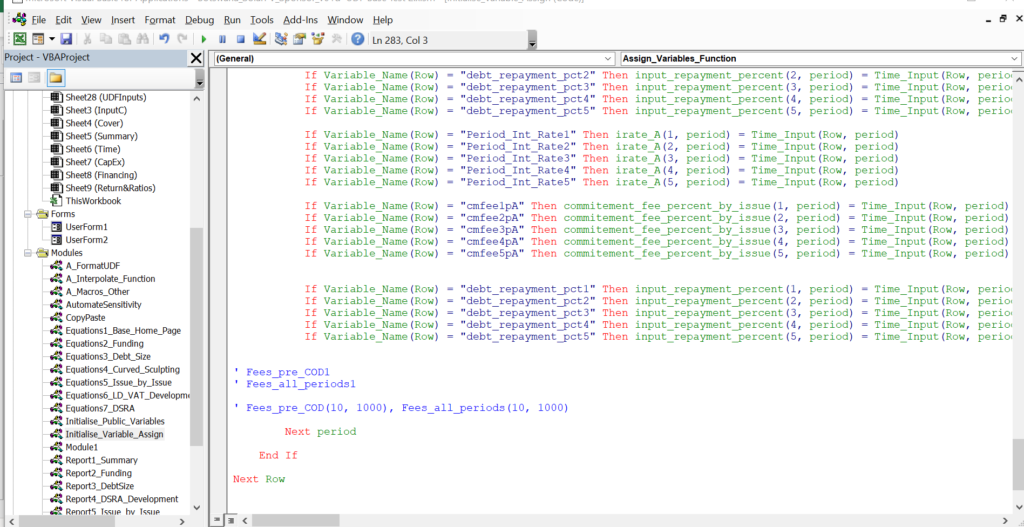
It is probable that you will want to add variables, calculations and outputs to the model. This example works through how you can add variables to the model. The example that I use adding fees for each debt issue to the model. I assume that you want to add the fees as fixed amounts (you could just as well change this to percentages depending on how your model works).
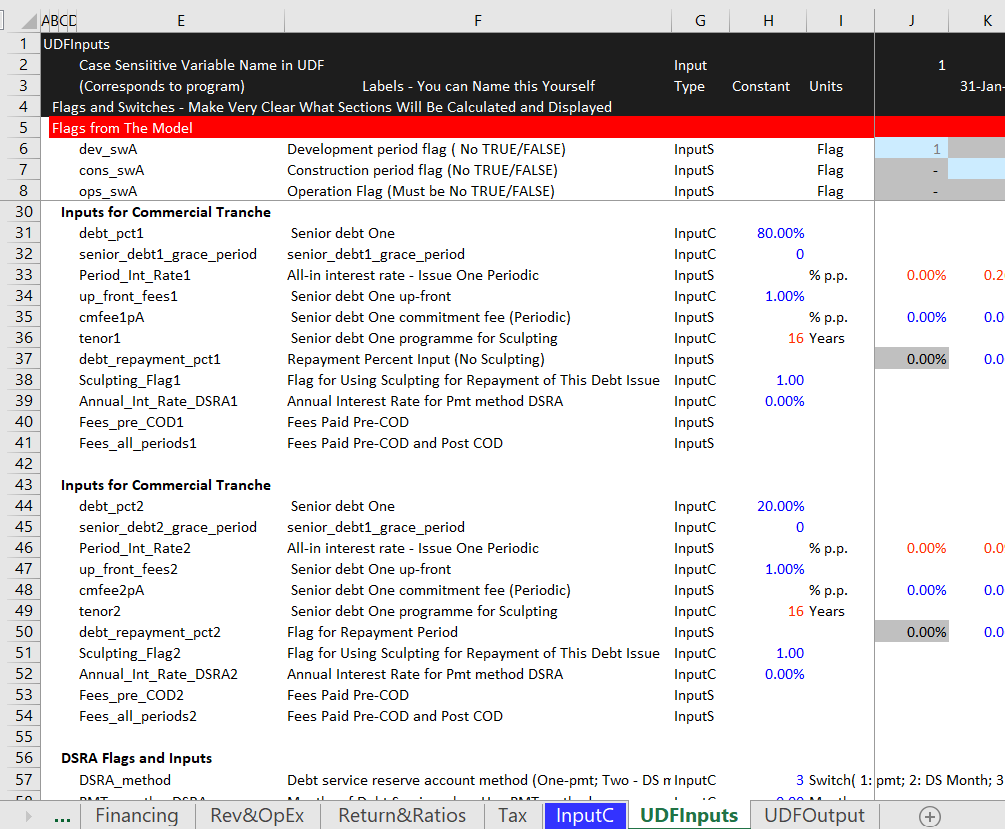
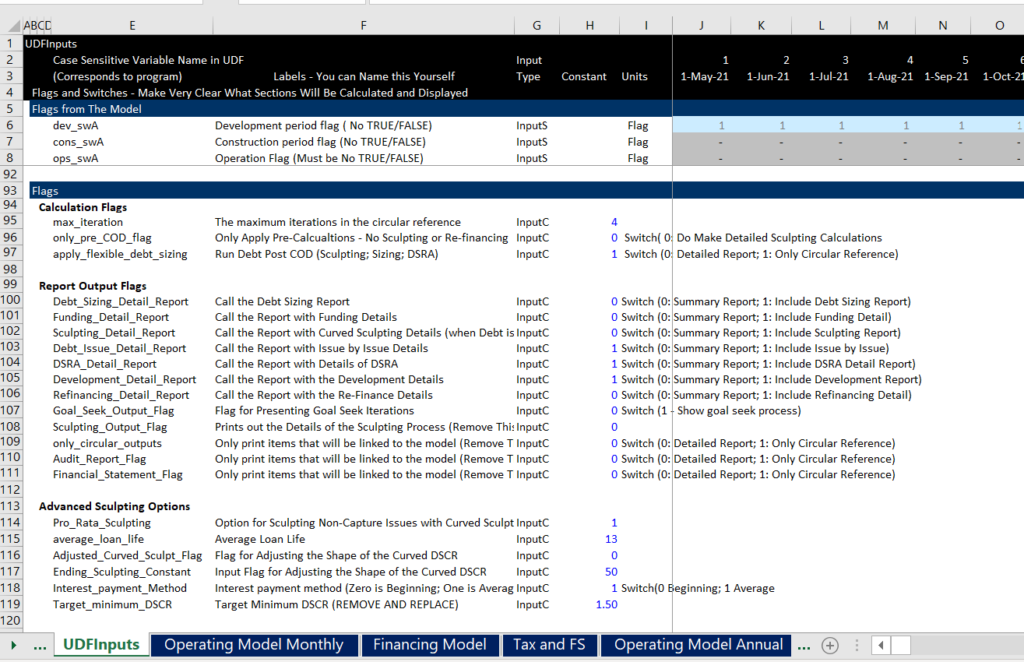
The first step is adding some inputs to the enter data in the UDF Inputs page. I have put in names for the fees as illustrated for the debt issue 1 and the debt issue 2 below.
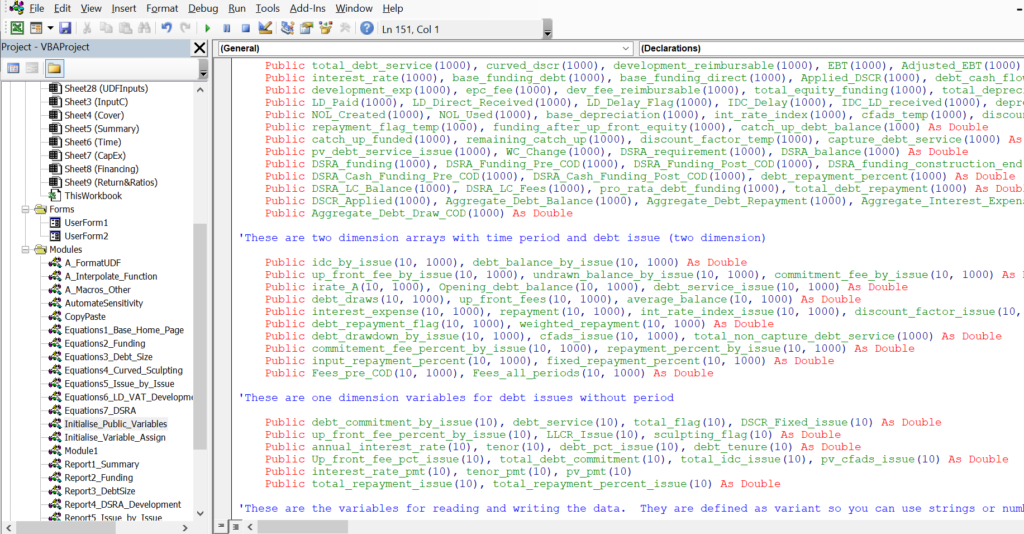
Once you have defined the variables in the UDFInputs page, you should define the variables in the Assign Variable function. As the variables are time series variables, you should put an array around the variable. So ok, this is a little harder than just inputting data when you add new things to your model. But we have tried to make it as easy as possible.
Next, you can go to the Initialise Variable Assign, and you can add the codes from the UDFInputs page. You can then copy the new variables that you added and are named Fees_pre_COD(10,1000), and Fees_all_periods(10,1000). The next screenshot illustrates how you can do this. In the first screenshot, I put together the data to copy.
Next, you can create the two input blocks. In the next screenshot you can see the two input blocks.
Checking Variables
When you look how a variable is computed, you can start with the end. You can start with looking at how a variable is computed. Let’s take the example of development expenditures that I had made a mistake with. You can go to the UDFInput sheet and find the report flag the prints out the development report. This is illustrated on the screenshot below.
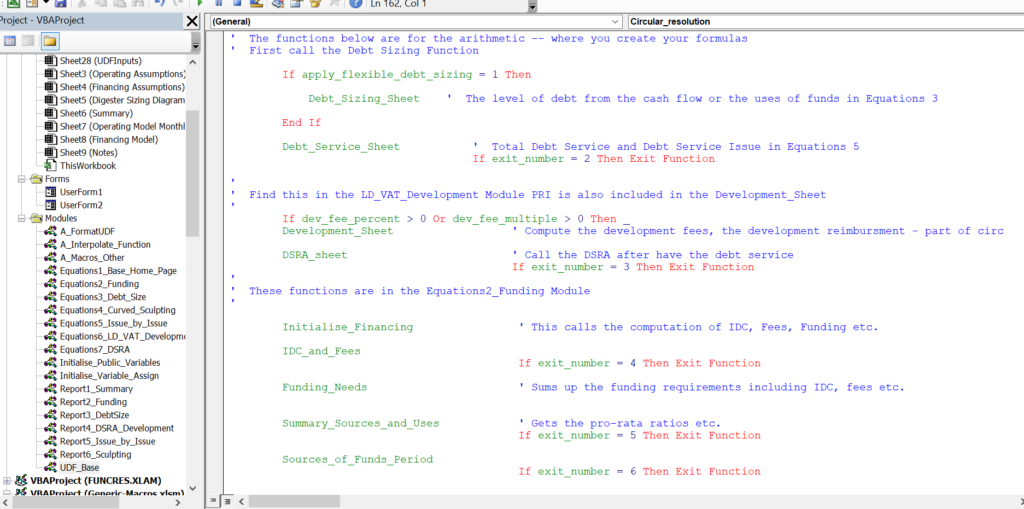
If you are working on the development expenditure, you can look at the output report for the development report. You can find the variable in the report and then go backwards as you would if you were tracing a variable. You can then look in the calculation sections and look at the equations. You can also look all the way back to the input sheet and find out what is happening with the variable. In this example I will find the development expenditures and create a variable for the initial working capital and the repayment of that working capital. To find out where the calculations are made, you can look in the UDF_base module as illustrated below. I have added a function to call development expenditures and initial working capital.
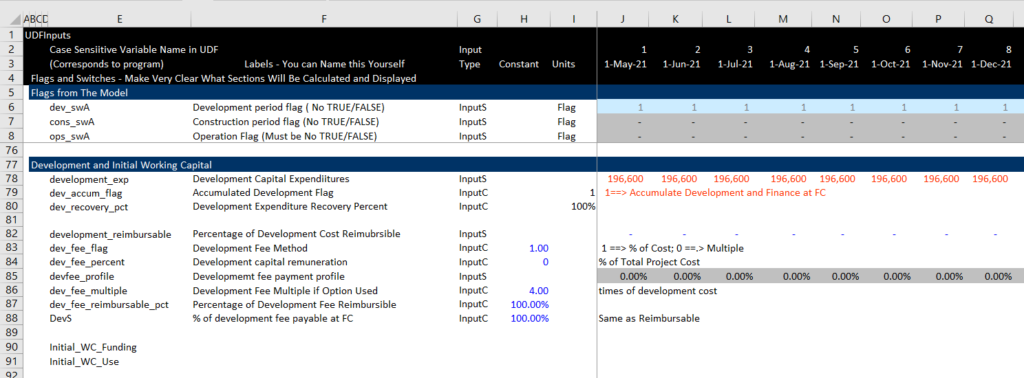
Lets now start at the beginning. In the screenshot below you can see how the variable is read into the program. Consider this as the InputS sheet and you can see how the variable name in the UDFInputs is read into the UDF program. If you want to add another input, you must make sure the input name in the UDFInputs is the same as the name in assign variable module. If you add the variables, make sure the variables are defined properly as array variables in the public variables module.

Once you get the variables into your model you can go to the equations and modify the equations. We have tried to make the equations a lot like the parts of a project finance model you should have in your excel. When you go to the UDF_Base module you can see where to find stuff. I hope that when you look at the UDF_Base module, you can probably find the place where your calculation is made. Then, you can go to the module where the function is located (a module can have many functions, just like a module can have many macros). The big deal is that when you adjust equations inside the loop, you head does not have to go into circles. Instead, you can focus on the equation and let the function do the work.
Now you can go to the appropriate program and begin your analysis of the equations and the programs.
Making a Flexible and Transparent Report
One of the changes we made was to make the reporting as flexible and as transparent as possible.